먼저 프레임워크 설치방법은 아래 글을 참고해주세요
개발환경
- OS - Windows 10
- IDE - Visual Studio Code (이하 VS Code)
- Framework Version - Codeigniter 3 (이하 Ci3)
- Bitnami WAMP 로컬 서버 경로 - 드라이브\Bitnami\apache2\htdocs
준비
1. codeigniter에 아래 링크에서 다운로드 받은 부트스트랩 무료 템플릿을 적용해보겠습니다.
https://startbootstrap.com/theme/sb-admin-2
SB Admin 2 - Free Bootstrap Admin Theme - Start Bootstrap
Like our free products? Our pro products are even better! Go Pro Today!
startbootstrap.com
2. WAMP 로컬서버 경로에 다운받은 Ci3 폴더를 복사해주고 이름을 폴더 이름을 'task'로 변경해줍니다.
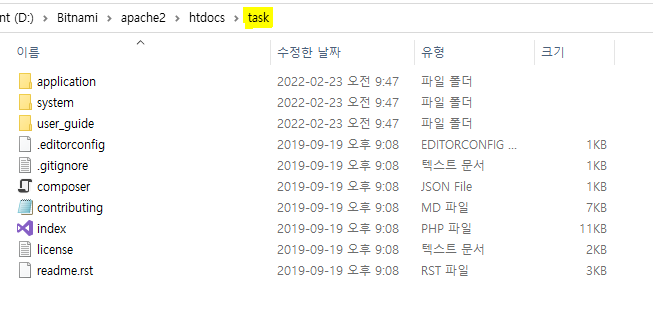 task 폴더 구성
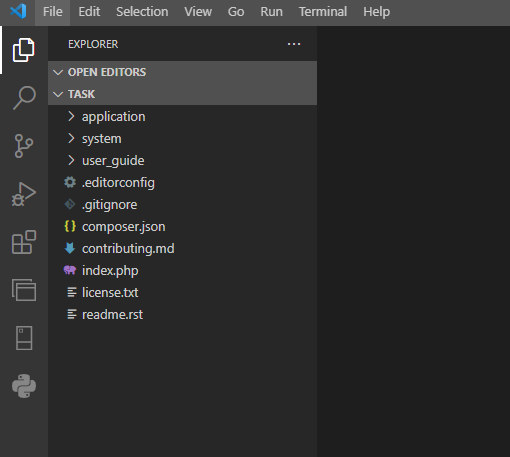
3. 작업을 위해 Visual Studio Code에서 위 폴더를 열어줍니다.
4. 서버 접속 확인
http://localhost(:포트)/task/
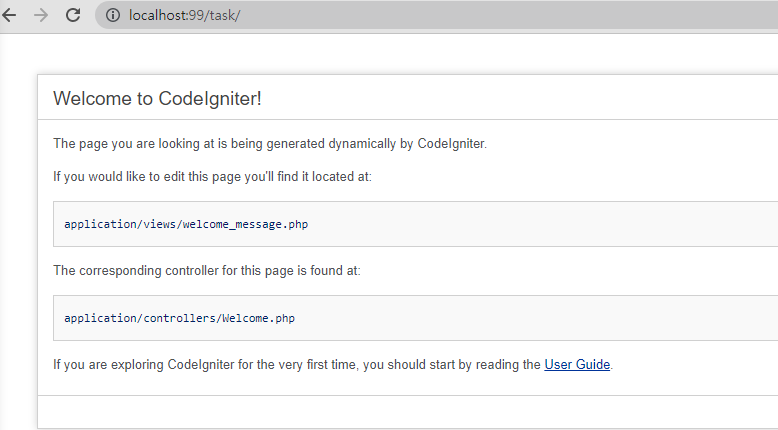 task 경로에 Ci 3가 잘 설치되었습니다. 
템플릿 적용하기
템플릿 적용을 하기 위해 다운받은 템플릿의 'css, js' 소스와 이미지 같은 리소스를 불러와줘야 합니다.
1. 템플릿 가져오기
먼저 'task'경로 안에 템플릿을 저장할 'static'이라는 폴더를 생성해줍니다.
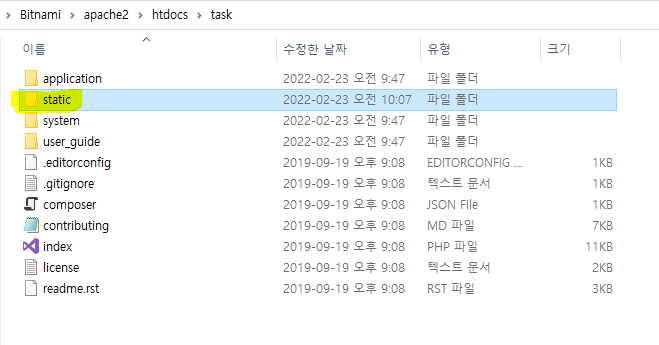 Static 폴더 생성
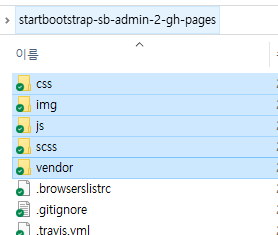
2. 복사할 템플릿 파일 확인
다운로드 받은 템플릿 파일 압축을 푼 후에 index.html 을 확인해보겠습니다.
 sb admin 2 템플릿 폴더
index.html을 크롬에서 열면 템플릿 사이트를 확인 할 수 있습니다.
지금은 소스파일을 봐야하므로 우클릭 하여 '연결 프로그램'을 메모장이나, VS code 등의 에디터로 열어봅니다.
<!DOCTYPE html>
<html lang="en">

<head>

    <meta charset="utf-8">
    <meta http-equiv="X-UA-Compatible" content="IE=edge">
    <meta name="viewport" content="width=device-width, initial-scale=1, shrink-to-fit=no">
    <meta name="description" content="">
    <meta name="author" content="">

    <title>SB Admin 2 - Dashboard</title>

    <!-- Custom fonts for this template-->
    <link href="vendor/fontawesome-free/css/all.min.css" rel="stylesheet" type="text/css">
    <link
        href="https://fonts.googleapis.com/css?family=Nunito:200,200i,300,300i,400,400i,600,600i,700,700i,800,800i,900,900i"
        rel="stylesheet">

    <!-- Custom styles for this template-->
    <link href="css/sb-admin-2.min.css" rel="stylesheet">

</head>
index.html의 <head>태그 부분을 살펴보겠습니다.
<link>태그 에 '*.css' 파일들을 불러온 것을 확인 할 수 있습니다.
    <!-- Bootstrap core JavaScript-->
    <script src="vendor/jquery/jquery.min.js"></script>
    <script src="vendor/bootstrap/js/bootstrap.bundle.min.js"></script>

    <!-- Core plugin JavaScript-->
    <script src="vendor/jquery-easing/jquery.easing.min.js"></script>

    <!-- Custom scripts for all pages-->
    <script src="js/sb-admin-2.min.js"></script>

    <!-- Page level plugins -->
    <script src="vendor/chart.js/Chart.min.js"></script>

    <!-- Page level custom scripts -->
    <script src="js/demo/chart-area-demo.js"></script>
    <script src="js/demo/chart-pie-demo.js"></script>

</body>

</html>
그리고 <body>태그 맨 밑 부분에 '*.js' 파일들을 불러 왔습니다.
index.html 파일처럼 템플릿을 불러오기위해 css, js 등의 파일들을 불러와줘야합니다.
이미지같은 리소스가 있는 템플릿이라면 이 역시 마찬가지구요.
3. 템플릿 파일을 Ci 3의 Static 폴더에 복사
 템플릿 적용을 위해 필요한 소스, 리소스 복사
템플릿 적용에 필요한 폴더들을 위에서 생성한 staic 폴더에 복사해줍니다.
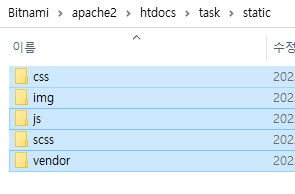 task 서버의 static 폴더에 복사
템플릿 적용을 위한 준비가 되었습니다.
다음에 템플릿을 ci 3에 적용해보겠습니다.